How To Make A Pumpkin Lantern
 Contributed by
Susanna Hasenoehrl
October 24, 2015

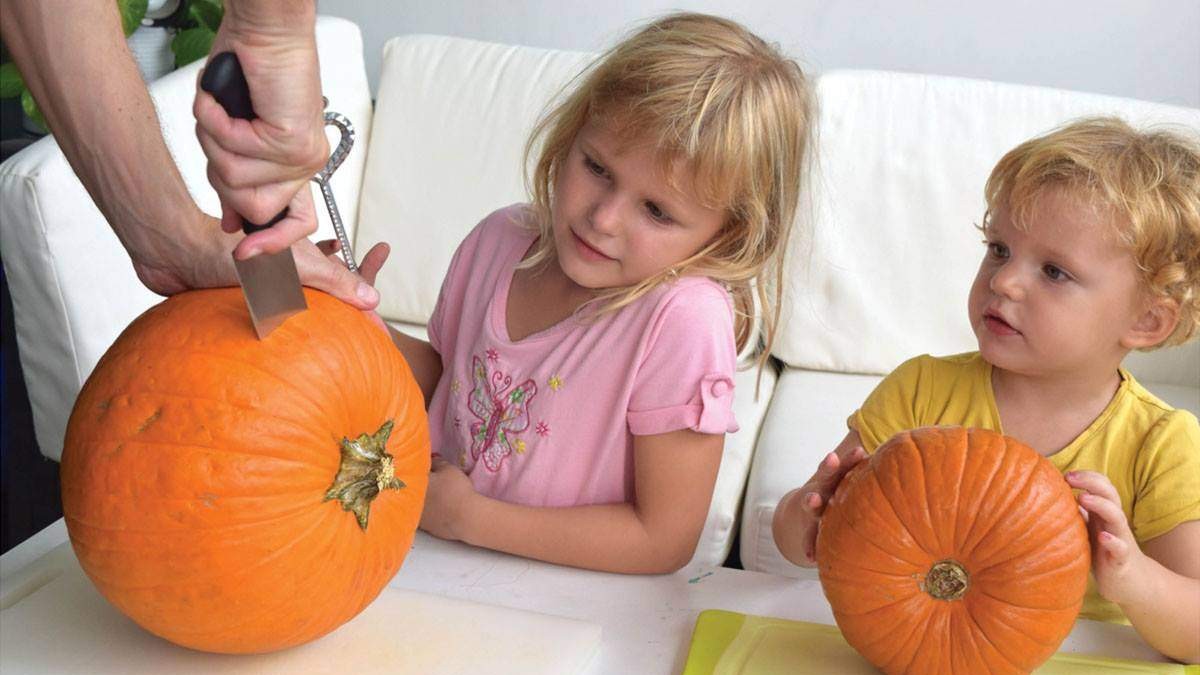
Making a Halloween lantern is a great family activity. Even small kids can get involved (though maybe not with the carving). Follow our easy instructions and impress your guests with the ultimate Halloween spooky face.
Not only is this great bonding, but it’s also a good time to practice using every part of your pumpkin. Don’t be wasteful, show your kids how you can then cook the pumpkin seeds with one of their favorite flavors, or recycle the pumpkin pulp in your garden or compost if you have one!
What you need:
- One pumpkin (per child)
- Large kitchen knife
- Bowl
- Large spoon
Instructions:
- Choose a nicely rounded pumpkin with minimal blemishes.
- Slice off the ‘hat’ with a sharp knife.
- Using a large spoon, scrape out the pulpy contents and seeds.
- Draw on your favorite Halloween face (also see our design tips below for more ideas).
- Cut out your design, sawing with small movements.
- Replace the pumpkin hat – and you’re ready to go!
If you’d like your Halloween to glow, add a candle in a small glass. Leave the lid off slightly so smoke can escape. Or if you’re kids like color, crack a glow-in-the-dark stick and use that instead!
Bonus Design Tip: If you’re not into spooky faces, you can drill holes into the pumpkin after cleaning it out. It looks great and you’ll be properly decked for the occasion!
BONUS Design Tip: You can also cut out really specific shapes by using a rubber mallet and cookie cutters, this is one the kids will probably love, just watch out for your fingers!
Visit YourFamily Kitchen page to find out more about Susanna's work.
This post was first published on YourFamily Kitchen blog and has been reposted on Executive Lifestyle with the permission of the author.
Did you enjoy this post? Please comment, like and share!


Sorry, the comment form is closed at this time.